Smartphone photography: 5 steps to capture magic with your phone
Everyone’s a photographer nowadays, thanks to mobile devices. However, stunning smartphone photography requires more attention to detail and technique.
It’s more than aiming your camera and hitting the shutter button. For example, you must set your phone to the right mode, depending on your desired photo.
This article will discuss the basics of smartphone photography to ensure you snap beautiful photos in your personal and professional life.
The 5 basics of smartphone photography
- Choose the best smartphone for photography
- Android vs. iPhone cameras
- Use optimal shooting modes
- Compose your photos before shooting
- Get the right accessories
1. Choose the best smartphone for photography
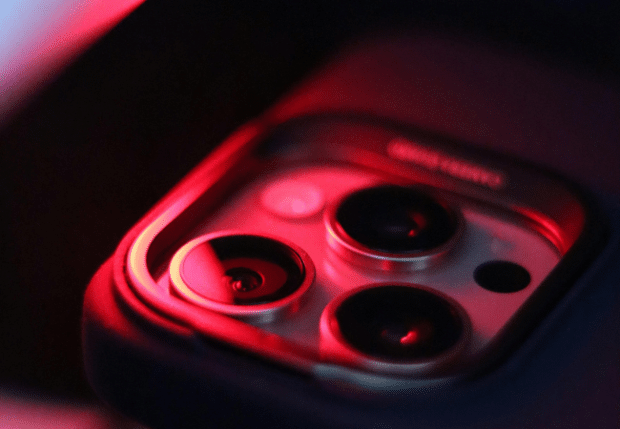
Head to any smartphone shop, and you’ll notice that the latest models typically feature more advanced cameras than previous ones.
READ: Sakana AI lets you turn pics into traditional Japanese art
It shows that mobile devices have different camera qualities. However, it’s not as simple as getting cameras with more megapixels. You should pick the best smartphone for photography based on these qualities:
- The aperture is the circular opening in the camera lens where light enters. Choose a phone with a wide aperture or a low f-stop number to snap photos in low light.
- Camera lenses with optical zoom are better than digital zoom. Pick a phone with multiple lenses to ensure it can capture close-ups and large scenes effectively.
- Image stabilization is also a must because it mitigates camera shake. Moreover, it lets you capture images that require a slower shutter speed by letting in more light for the optimal photo.
- Megapixels aren’t everything, but they are still essential for smartphone photography. Ensure your new mobile picture-taker has more than 20 megapixels and the above characteristics.
2. Android vs iPhone cameras
Adobe says Android devices and iPhones have different characteristics found in most of their models. Learn more about these features to match them to your upcoming project, starting with Apple:
- Powerful Sony sensors for detailed shots
- Macro zoom for photo and video close-ups
- QuickTake video for fast captures
- Manual adjustments like focus and exposure to shoot like a pro
- Mirrored selfie abilities to get yourself looking your best
- Faster shutter speed to capture objects in motion
- Night mode for better shots when it’s dark outside
- Live photos to capture movement and sound
- Portrait mode to mimic a shallow depth of field
On the other hand, take note of these features if you have an iPhone:
- Quick launch of the camera app for impromptu shots
- Easy ability to turn on grid lines and location tags
- Automatic HDR (high dynamic range) for varied lighting conditions
- Expandable photo storage so you don’t run out of space
- Pro Mode for controlling camera settings manually
- Live focus for adjusting background blur
READ: Google Photos makes smart editing tools available to everyone
Note that these features may change as smartphone technology evolves. Read product specifications carefully to ensure your new devices meet smartphone photography standards.
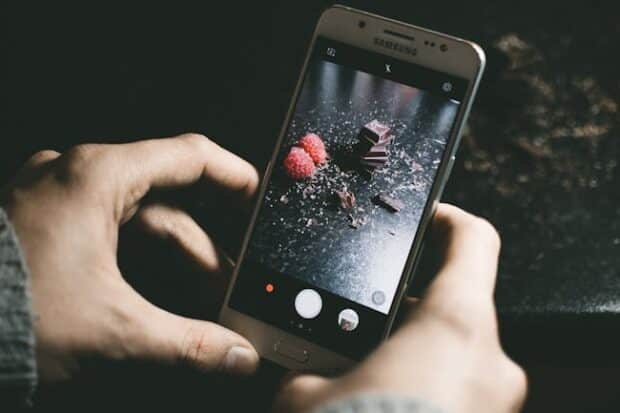
3. Use optimal shooting modes
Most are content with using their phone camera’s default settings. However, you must know your different modes and match them to your specific picture project.
CaptureLandscapes, a photography learning website, says these are the different shooting modes:
- Aperture Mode lets you blur the background to emphasize subjects that are within two meters of your lens. Tap on the part you want to focus on and then drag the slider to adjust the blur.
- Night Mode, as the name suggests, is great for taking photos in low-light environments. It causes your camera to take multiple shots in four to eight seconds to merge them into a high-quality image.
- Portrait Mode is like Aperture Mode because it blurs the background. However, it has two different effects, Beauty and Bokeh. The former smoothens faces and the latter blurs background lights. CaptureLandscapes recommends removing flash for optimal image quality.
- Monochrome Mode takes black-and-white images, which are ideal for street, architecture, and fine art photography.
- Super Macro Mode lets you capture subjects that are extremely close to your smartphone with great detail. Most use this setting for flowers, bugs, and food, so you might want this setting for Instagram posts!
Pro Mode is the most advanced setting as it allows you to tweak every aspect of your camera. Here are some of the settings it lets you adjust:
- Metering adjusts the shutter and aperture speed depending on the amount of light entering the lens.
- ISO stands for the International Organization for Standardization, and it controls the camera’s sensitivity to light.
- Shutter sets the exposure time.
- Exposure compensation or EV changes the recommended exposure setting to make photos brighter or darker.
- Focus lets you choose from three focusing methods: Single Shoot Autofocus (AF-S), Continuous Autofocus (AF-C), or Manual Focus (MF).
- White balance lets you choose how “white you’d like the whites” in your photos. Consequently, it helps make shots look more realistic.
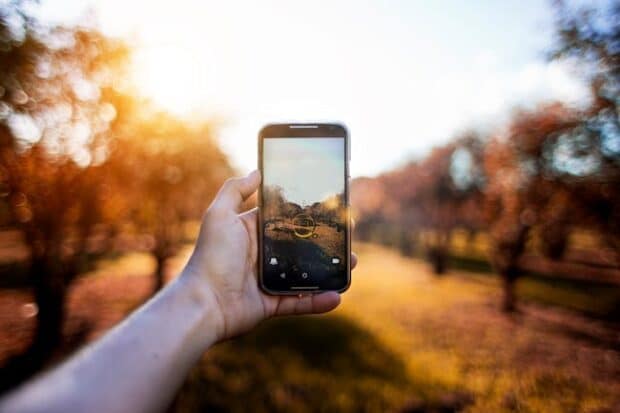
4. Compose your photos before shooting

As mentioned, photography is more than just pointing the camera and hitting the shutter. Educational website Hubspot says you must arrange the various parts of your scene to turn it into a compelling image.
That method is called composition, and you can try this technique with a few simple steps. For example, use the rule of thirds, a photographic composition technique that breaks an image into three parts horizontally and vertically.
The general rule is to put points of interest in their intersections to ensure your photo is balanced and level. As a result, viewers will have an easier time observing it.
Show these lines or “intersections” in your camera view by opening the camera settings and then tapping the Grid option. Also, try these other methods from Hubspot:
- Use leading lines, which are parts of the photo that lead to your subject. For example, take a wedding photo with the couple at the center and the red carpet leading to them.
- Take advantage of symmetry, which usually means an image has two equal parts that are mirror images of each other. For example, taking an overhead picture of a butterfly splits the photo into its two wings and exhibits symmetry.
- Focus on one subject at a time and ensure your subject doesn’t fill the entire frame. Use the rule of thirds to help you focus on a point of interest.
- Use color blocking by providing a vibrant background for your subject so that it stands out.
5. Get the right accessories

If you take pictures beyond the occasional selfie, then you may want more quality out of each shot. Take your snaps to the next level with these accessories:
- A smartphone tripod steadies your camera more effectively than your hands. Moreover, it’s crucial for taking timed photographs and group selfies.
- Remote shutter control allows you to take photos while you’re far from your phone. More importantly, it lets you take full advantage of your tripod.
- A smartphone gimbal steadies and levels your phone while you’re on the move. Consequently, it’s a great investment if you often take outdoor photos or fast-moving subjects.
- A portable lighting setup, such as ring lights or portable LEDs, lets you illuminate your subjects when needed.
- You might also need a portable battery pack to recharge your phone during long shooting sessions.
Most importantly, you must practice smartphone photography to enhance your skills. Fortunately, it’s easy to practice because most have their phones wherever and whenever.
Try the methods listed and others to improve your shots. Moreover, be ready to whip out your mobile whenever you find an interesting subject!