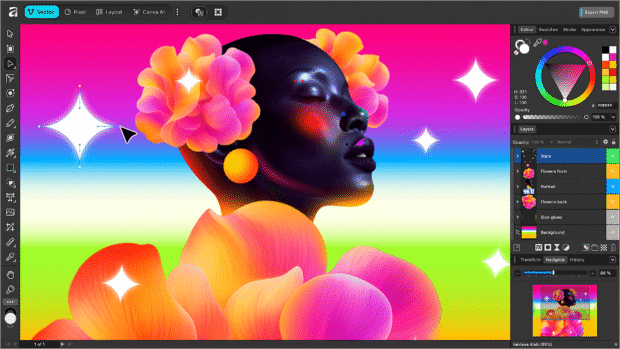
A beginner’s guide to Affinity by Canva
Affinity by Canva is now free, and if you’re new to photo editing but curious about what AI tools can actually do, this is a good place to start. Here’s how to use them without getting lost in the interface. The app is free to download on both Mac and PC (on ARM and x86 devices) we can’t wait for the iPad release!
1. Remove backgrounds in one click
This is the most practical AI feature for beginners. You have a photo of a product or person, and you need to isolate it from the background without manually tracing edges.
How to do it:
- Open your image in Affinity
- If you have a Canva paid account, open the Canva AI Studio (built into the app)
- Select Background Removal
- Click once — the AI separates the subject from the background automatically
The result is a clean cutout you can drop onto a different background, use in a layout, or export with transparency. This used to require manual selection tools and cleanup. Now it’s instant.
Why it matters: If you’re designing for social media, e-commerce, or presentations, background removal is something you’ll use constantly. Affinity’s version works fast because it uses cloud processing, and it doesn’t use your images to train future AI models.
2. Expand images beyond their original frame
You have a photo cropped too tight, or you need more space around the edges to fit a layout. Generative expand uses AI to fill in the missing parts based on what’s already there.
How to do it:
- Open your image
- Access Generative Expand in the Canva AI Studio
- Drag the canvas edges outward to show where you need more image
- The AI generates new pixels that blend with the original photo
This works well for landscapes, product photography, and portraits where you need breathing room but don’t have alternate shots. The AI isn’t perfect — sometimes the generated areas look synthetic — but for quick layout adjustments, it’s faster than cropping creatively or reshooting.
Why it matters: You won’t always have the perfect crop. Generative expand gives you flexibility without needing Photoshop skills or additional stock images.
3. Use local AI models for instant edits
If you don’t have a Canva paid account, Affinity still offers AI tools that run directly on your device. These include image segmentation (automatically selecting parts of an image), colorization (adding color to black-and-white photos), and super-resolution (upscaling images without losing quality).

How to do it:
- Go to settings under edit
- Enable and download the machine learning tools
- You will need an Apple silicon or PC with an NPU capable of these AI functions
Because these run locally, they’re faster and more private. You’re not sending images to a server. The downside is they’re less powerful than cloud-based tools, but for basic tasks like selecting objects or improving sharpness, they work well.
Why it matters: You can use AI features offline without relying on subscription services or external processing. For beginners, this is a low-pressure way to experiment.
Truly useful
Affinity’s AI tools speed up the boring parts of photo editing — removing backgrounds, expanding frames, selecting objects — so you can focus on the actual design. If you’re new to editing, start with background removal and generative expand. Those two features alone will handle most of what you’ll need for social media graphics, product mockups, and basic layouts.
The software is free, the AI features don’t train on your work, and you don’t need to master complex tools to get usable results.