Printer troubleshooting in 10 easy steps
Many recognize the printer as one of the most unreliable and clunky office devices. The machine whirs and cranks loudly as it churns your document.
Worse, it often asks you to fix a paper jam or replace your ink cartridges.
Fortunately, you can make printer troubleshooting easier with a few simple steps.
These method, however, may differ depending on your printer brand and model.
The 10 ways to fix your printer
- Check the printer lights
- Restart your printer and computer
- Clear the printer queue
- Print a test page
- Fix cartridge issues
- Unclog the print head
- Align the printer cartridges
- Run the printer troubleshooter
- Update printer drivers
- Print directly to the printer
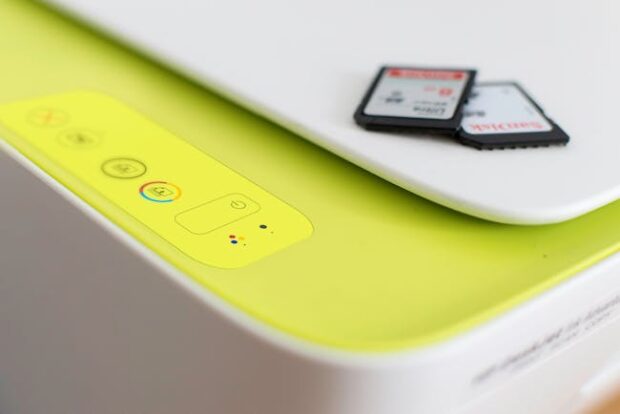
1. Check the printer lights
Modern printers have built-in error indicators, so check those to confirm the issue. For example, a glowing water drop icon could mean you are out of ink or toner.
PCMag says most printers have different error messages, so you should check its user manual. Take the one that came from its box, or download it from the brand website.
READ: Twitter will let users publish articles
Figure out the error that corresponds to the active printer light or message, and then check the manual.
If no lights are on, perhaps your printer isn’t plugged into an outlet properly. Also, check if your printer links snuggly into your PC.
If your machine still doesn’t work, read for more printer troubleshooting tips.
2. Restart your printer and computer
Sometimes, the simplest solutions are the most effective. Believe it or not, turning your printer off and on again is one of the most common printer troubleshooting tips. Here’s how to do it:
- Press the power button on your printer to turn it off.
- Wait for it to shut down.
- Then, unplug it from your computer and the power outlet.
- Restart your PC.
- Afterward, plug your printer in and start it.
- Print something to see if it’s working properly.
3. Clear the printer queue
Your printer may “get jammed” with too many pending documents in its printer queue. As a result, your machine can’t make the document you need. Clear it with these steps from MakeUseOf:
- Right-click on the printer icon in the Windows notification area.
- Next, choose the Open All Printers option. Otherwise, head to Settings, Devices, and then Printers & scanners.
- Click your printer in the list and select Open queue.
Of course, Apple computers have different directions, so use these for macOS:
- Click the Print Center icon in the Dock during the printing process. Alternatively, head to System Settings and open Printers & Scanners.
- Then, select your printer.
- Click the Printer Queue button.
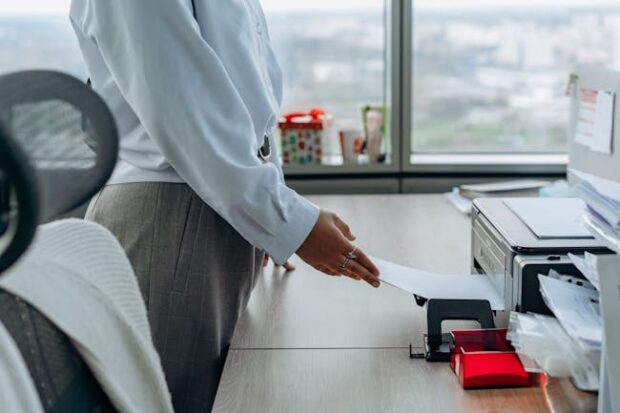
4. Print a test page
You can verify which printer troubleshooting method to use based on a test print. For example, a jagged image could mean you have misaligned print heads.
Print a test page on Windows with these steps:
- Head to the Control Panel app in the Windows Start menu.
- Click on the Devices and Printers option.
- Right-click on your printer and select Printer properties.
- Afterward, click on the Print Test Page button under the General tab.
Use these instructions if you have a Mac:
- Hit the Apple menu.
- Then, choose System Settings
- Click on Printers & Scanners.
- Click on the options button under your printer.
- Next, choose the Print Test Page option under the Utility tab.
5. Fix cartridge issues
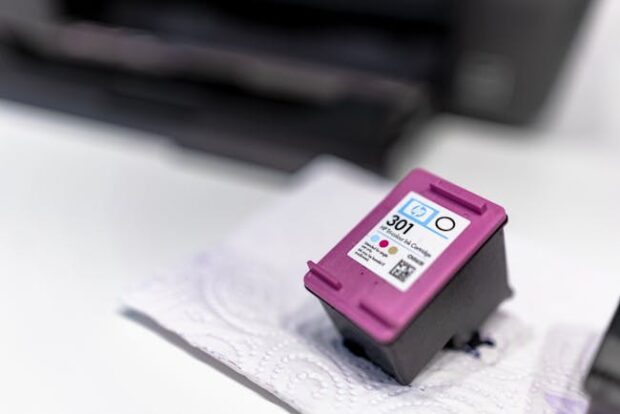
Another common printer troubleshooting technique is replacing the ink or toner cartridge. In other words, your device might be out of ink.
If you replaced the cartridge recently, ensure it doesn’t have the protective tab blocking it from your printer’s printing head.
Check the ink levels by checking your printer’s exterior. Otherwise, check its proprietary software to see how much toner or ink it still has.
READ: ‘Super Mario’ cartridge sells for $1.5 million
You may also check your ink amount on Windows with these steps:
- Go to the Devices and Printers option from the Control Panel.
- Next, right-click on your printer and select Printer properties.
- Click on the View Printer Status button under the Maintenance tab.
- Look under the Estimated ink levels section to see how much ink you have left.
Mac users should follow these steps:
- Open System Settings via the Apple menu.
- Click on the Printers & Scanners option.
- Then, choose your printer and click on the options button.
- Look under the Supply Levels tab.
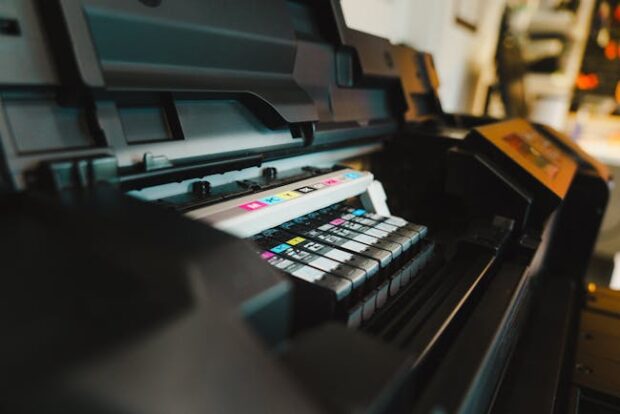
6. Unclog the print head
You may have noticed some sections keep mentioning the “print head.” it sits at the bottom of your ink cartridge and sprays ink onto the paper through microscopic holes.
Eventually, they can get clogged, leading to faulty printing. Often, you can clear your print heads by running a cleaning cycle. Insert paper into your printer and follow these steps for Windows:
- Go to Devices and Printers in the Control Panel.
- Next, right-click on your printer and select Printer properties.
- Pick Maintenance and Preferences under the Maintenance tab
- Afterward, perform a regular cleaning or deep cleaning.
Follow these methods if you have a Mac:
- Go to System Settings and then to Printers & Scanners under the Apple menu.
- Next, click on the Open Printer Utility button under printer options in the Utility tab.
- Select Maintenance under the Control menu.
- Click on Print Head Cleaning and follow the on-screen options.
7. Align the printer cartridges
You might notice your printed pages consist of jagged lines, suggesting your printer cartridges are misaligned. Insert paper in your printer and then correct the cartridges with these steps:
- Go to Control Panel and then Devices and Printers.
- Afterward, right-click on your printer and select Printing Preferences.
- Click on Maintenance and Preferences under the Maintenance tab.
- Select the option for aligning the print head and follow the on-screen instructions.
Alternatively, run your printer’s proprietary software to run a printer head realignment. Check your manual for more information.
8. Run the printer troubleshooter

Printers have software with built-in troubleshooting capabilities. Run yours by following these steps:
- Click the Start menu and head to Settings.
- Next, select Update & Security.
- Head to the Troubleshoot tab on the left.
- Next, select the printer troubleshooter under the Get up and running section.
READ: How to fix mouse lag
The official Mac support page says you should try turning off Print Dialog Extensions (PDEs) if your printer uses them. Deactivate that feature with these steps:
- Choose the Apple menu.
- Open System Settings.
- Click Printers & Scanners.
- Select your printer and click the Options & Supplies button.
- Then, tick the Use Generic Printer Features checkbox and click OK.
9. Update printer drivers
The Strategic Technology Partners of Texas says printer drivers convert computer data into a format that a printer can understand.
Previously, printers required users to install drivers by inserting CDs inside their packaging. Nowadays, computers download the appropriate drivers automatically.
If the other printer troubleshooting tips don’t work, install the latest version of your printer driver.
Check your machine’s specific model, open the brand’s website, and download the corresponding driver. You may need to do the same for your Mac.
PCMag says printer drivers will soon be a thing of the past as Microsoft plans to discontinue support for these third-party programs.
10. Print directly to the printer
MakeUseOf says some printers use printer spooling, which runs printing tasks in the background. Sometimes, they could cause your printer to release blank pages.
Disable this feature and print directly to the printer on Windows with these steps:
- Go to Devices and Printers in the Control Panel app.
- Next, right-click on your printer and select Printer properties.
- Choose the Print directly to the printer option under the Advanced tab.
Digital Trends says you can fix printer spooling for Mac with these methods:
- Open the Apple menu.
- Next, choose System Settings and find the Printers & Scanners tab.
- Right-click the printer list and then click the Reset Printing System option.
- Then, confirm your choice by clicking Reset.
- Add your printer by clicking the Add Printer, Scanner, or Fax button.
- Choose your device from the list and hit the Add button.